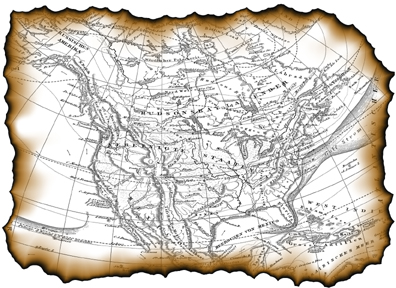
Burnt Edges simulates the effect of burning the edges of a piece of paper, or
burning a hole into paper, and then putting the flame out. Burnt Edges can be
used with any selection shape, including text. By using different burn colors,
you can create many different effects. Check out the Burnt Edges presets to
see some of the many effects you can create.
Use this slider to contract or expand your original selection from within the Xenofex 2 user interface.
Controls the thickness of the burnt area around your selection.
Controls the roughness of the burnt edge; higher values produce an increasingly jagged edge.
Selecting this check box hollows out the fringes of the burnt edge.

Top: Hollow
edges disabled and burn inside enabled on type.
Bottom: Hollow edges enabled.
Select this option to burn a hole into the selection.
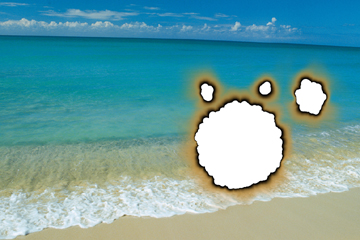
Burnt Edges with Burn Inside selected.
The burnt edges can be any color you like. Clicking in this box awakens your slumbering color picker.
The following three options determine how Burnt Edges fills an area which has been burned away:
Fill with solid color
Fills burned away areas with the color chosen by the Fill Color picker.
Keep Original Image
Preserves the original image in areas which have been burned away.
Make Selection Transparent
Fills burned away areas with transparency. Any underlying image layers will show through the burned out areas. This option is disabled when your image is in the background layer.
Controls the opacity of the burned edge effect.
Controls the random element in the creation of this effect. Minor changes in the Random Seed setting can produce dramatic changes in your image; we encourage you to experiment with this control until you find the effects you like best. You can then precisely duplicate the effect by saving the Random Seed setting.