Flag uses shadows and highlights to simulate three-dimensional, windblown fabric or liquid surfaces. Flag quickly creates striking banners for the web. Intrepid users can even start with non-rectangular shapes to make pennants or war-torn flags.
Apply Flag to objects in layers with transparency to get the best results.
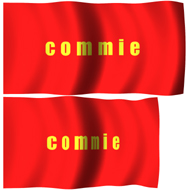
Selecting this option disables most of the Flag controls making it easy to create an idealized flag. To make a simple rectangular flag that looks like it is being blown from left to right, check this box.
Shrink is a zoom lens for your flag. If parts of your flag fall outside of the viewable canvas, increase the Shrink value to zoom away from the flag.
Controls the speed of the air flowing over the fabric. Higher values create more ripples and cause the ripples to curve more.
Controls the direction from which wind blows across the flag.
Controls the amount that rippling affects the apparent dimensions of the flag. Lower values shrink the image less and preserve more original detail. Higher values realistically shrink the flag.
Top to bottom: Increasing Distortion shrinks the flag.
Controls which corners and edges are fixed. Each checkbox corresponds to a corner or an entire side of the flag. To hold a typical flag tightly to the flagpole, turn on the middle-left checkbox. To hold the flag more loosely, clear the middle-left checkbox and turn on both the upper-left and lower-left checkboxes.

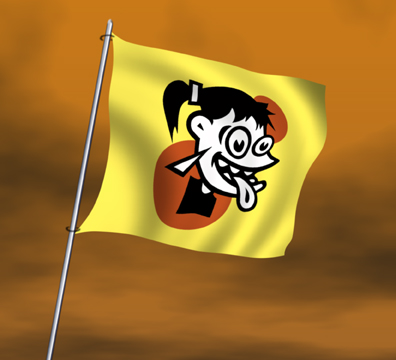
The flags above are held loosely to the poles, using only
two corner attachments.
Chooses the solid color that fills the areas where the effect does not cover the original image. This is only enabled in the background layer. In layers that have transparency, the area around the effect is simply erased.
Boosts the lighting effect on your flag, yielding brighter, harsher lighting.
Controls the direction from which the light falls on your selection. Click and drag within the lighting control box to change the direction, or enter a numerical value between 0 and 360 degrees.
Controls the random element in the creation of this effect. Minor changes in the Random Seed setting can produce dramatic changes in your image; we encourage you to experiment with this control until you find the effects you like best. You can then precisely duplicate the effect by saving the Random Seed setting.
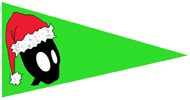
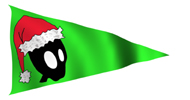
![]() It
is easy to make non-rectangular flags. For instance, to make a baseball pennant,
use the following steps:
It
is easy to make non-rectangular flags. For instance, to make a baseball pennant,
use the following steps:

![]() To
make a flag look like it has been through a battle, rough up the edges and add
bullet holes before applying the Flag filter. Bullet holes are easy to make
with the Xenofex 2 filters Burnt Edges or Rip Open.
To
make a flag look like it has been through a battle, rough up the edges and add
bullet holes before applying the Flag filter. Bullet holes are easy to make
with the Xenofex 2 filters Burnt Edges or Rip Open.