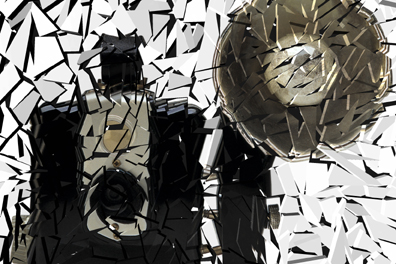
Shatter explodes images and selections into little pieces and shards that fly off the page in a three-dimensional simulation of an exploding surface.
Note: Shatter does not work in CMYK mode.
Controls the average size of the broken pieces. Increasing this value makes the average shattered piece larger.
Controls the three-dimensional depth of each piece. Higher values yield thicker pieces.
Controls the random rotation and spreading of shattered pieces. As this value increases, pieces spread further apart, sometimes flying out of the field of view.
Specifies the amount of time that has elapsed in the shatter event. A value of 1 is the very beginning of the event, and all you can see are surface cracks forming. As time moves forward, pieces fly away from the original surface and rotate.
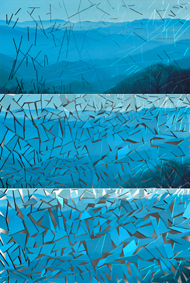
The sequence above demonstrates the effect of Time on a shattered image.
Controls the opacity of drop shadows cast by the broken pieces. Higher values yield darker shadows.
Controls the opacity drop-off at the edge of shadows. Higher values yield a wider area of blurring, suggesting a light source that is farther away.
Controls the random element in the creation of this effect. Minor changes in the Random Seed setting can produce dramatic changes in your image; we encourage you to experiment with this control until you find the effects you like best. You can then precisely duplicate the effect by saving the Random Seed setting.
Boosts the lighting effect on shattered pieces, yielding brighter, harsher lighting.
Controls the direction from which the light falls on your selection. Click and drag within the lighting control box to change the direction, or enter a numerical value between 0 and 360 degrees.
Controls the intensity of the shiny highlights appearing on the areas facing the light.
Controls the size of the shiny highlights on areas facing the light; higher values yield larger highlights.