


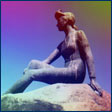
Aetherize
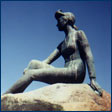
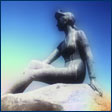
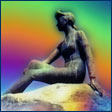
Aetherize produces dreamy, gauzy, or surreally colored images from photographs. It can add subtle variations of hue or extreme coloration. The best results come from using it on scanned photos, but it can be used to soften flat-color graphics too.
Illustrated installation instructions are online.
To use this software, you need a paint program which accepts standard Photoshop 3.0 plugins.
Just put the plug-in filter into the folder where your paint program expects to find it. If you have Photoshop, the folder is Photoshop:Plugins:Filters or Photoshop:Plug-ins. You must restart Photoshop before it will notice the new plug-in. It will appear in the menus as Filters->Flaming Pear->Aetherize.
Most other paint programs follow a similar scheme.
If you have Paint Shop Pro: you have to create a new folder, put the plug-in filter into it, and then tell PSP to look there.
PSP 7:
Choose the menu File-> Preferences-> File Locations... and choose the Plug-in Filters tab. Use one of the "Browse" buttons to choose the folder that contains the plug-in.
The plugin is now installed. To use it, open any image and select an area. From the menus, choose Effects->Plug-in Filters->Flaming Pear->Aetherize.
PSP 8, 9, and X:
Choose the menu File-> Preferences-> File Locations... In the dialog box that appears, choose Plug-ins from the list. Click "Add." If you are using PSP 8 or 9, click "Browse". Now choose the folder that contains the plug-in.
The plugin is now installed. To use it, open any image and select an area. From the menus, choose Effects->Plugins->Flaming Pear->Aetherize.
When you invoke Aetherize, a dialog box will appear:
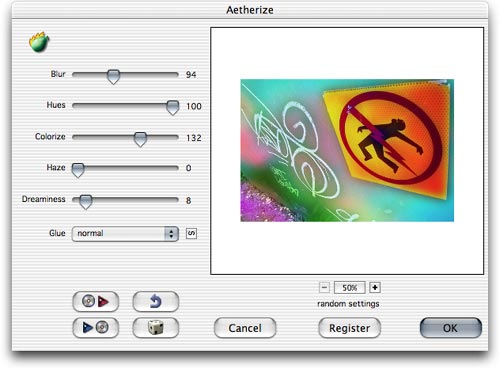
| Quick start |
|||
| If you just want to see some effects quickly, click the dice button
until you see something you like; then click OK.
Using the dice is the easiest way to use Aetherize. If you want to hand-tune your own effects, it helps to learn the controls, which are explained below. |
dice |

|
Version 1.55 June 2007 Fixes a problem where the plug-in wouldn't remember its registration when it was installed in one user account but activated in another. Version 1.4 July 2004 Works in 16-bit color. Version 1.3 December 2003 Recordable as a Photoshop action. Version 1.25 September 2003 Adds more glue modes and the next-glue button. Version 1.22 February 2003 Adds more glue modes and fixes a crash that could happen when using the menus under Windows XP. Version 1.21 December 2002 Adds new glue modes: Color, Luminance, Linear Light, and Pin Light. Fixes the appearance of text in the interface when running under Mac OS X 10.2.3 . Version 1.2 February 2002 Adds previews in the preset browser. Version 1.1 September 2001 Adds an Undo button. Version 1.0 September 1999 First release. |
Questions
Answers to common technical questions appear on the support page.
For bug reports and technical questions about the software, please write to support@flamingpear.com .